Twin-agotchi?
Cloning a Pwnagotchi
 This brief follow-up builds upon my previous project, Tacoyachi. If you haven't had the opportunity to review it yet, I recommend checking it out here.
A few weeks ago, while constructing my first Pwnagotchi, I encountered several issues with various components. As a result, I acquired additional E-Ink displays, Raspberry Pi Zero 2s, and PiSugar batteries. Through thorough research, I discovered the missing piece to the puzzle.
Backup your data
Backing up your original data before making any modifications is crucial to ensure data integrity and prevent potential loss. By creating a backup, you safeguard against unforeseen issues, such as hardware failures, software errors, or accidental deletions, which can lead to irreparable damage to your original data. A reliable backup allows you to restore your system to its previous state, minimizing downtime and ensuring continuity. This practice is essential for preserving valuable information and maintaining the stability and reliability of your digital environment.
Unlike human fingerprints, a Pwnagotchi's fingerprint is unique. This fingerprint, along with its "name," forms its distinct identity.
Steps
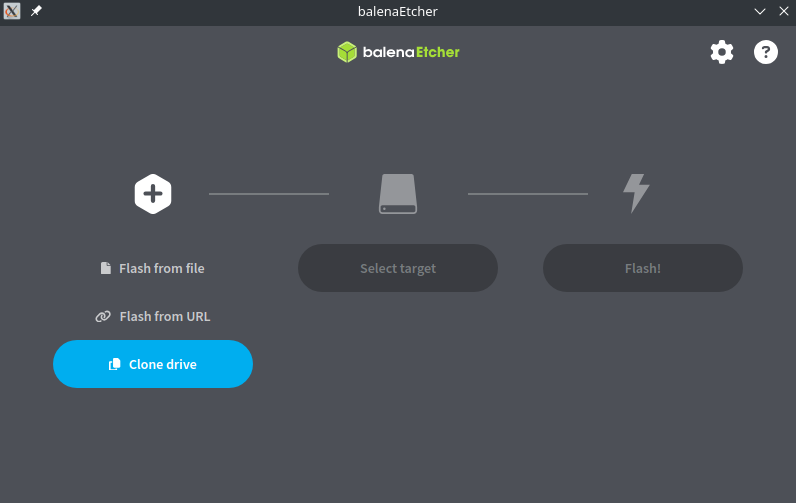
- Creating an image of your existing Pwnagotchi is a straightforward task using Balena Etcher, the tool likely used for the original setup. Simply insert the Micro SD card back into your PC, launch Balena Etcher, and select the clone option. With a second Micro SD card also inserted into the computer, this process will mirror one card to the other.

If you are cloning directly from card to card skip to step 6.
Note: It is best to use SD cards of the same size. I encountered an issue where my original image was copied from a 64GB card, and the new SD card was only 32GB. To resolve this, I resized the partition, removing the free space at the end, thus reducing the image size to less than 32GB. - Mount the partition table:
partx -a -v /path/to/file.img
- Find the end of the table:
fdisk -l /path/to/file.img
- Cut off the empty space at the end:
truncate --size=$[(56530944+1)*512] /path/to/file.img
- Unmount the partition table:
partx -d -v /path/to/file.imgAgain, if you are cloning directly from card to card, you should not encounter this issue.
- Insert the cloned Micro SD card into the new Pwnagotchi and boot it up to ensure it operates correctly. SSH into your Pwnagotchi and navigate to /etc/pwnagotchi. A few files here require attention:
- Choose a new name and edit config.toml to reflect your newly chosen name:
main.name = "pwnagotchi"You can also take this opportunity to make any other changes. If you area teathering to BT you'll need to set a seperate IP address.main.plugins.bt-tether.devices.android-phone.ip = "192.168.44.44" # this is the static ip of your pwnagotchi
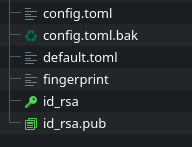
- Locate 'fingerprint', 'id_rsa', & 'id_rsa.pub' and delete them. They should be right next to your config.toml

- Reboot the Pwnagotchi and it will automatically generate new fingerprint and RSA files.
sudo reboot now
Once your new Pwnagotchi boots up your other Pwngotchi should find it fairly soon and they'll be freinds! This is all it takes to clone a Pwnagotchi. I do recommend making additional backup of your Pwnagotchi image and storing this somewhere safe.
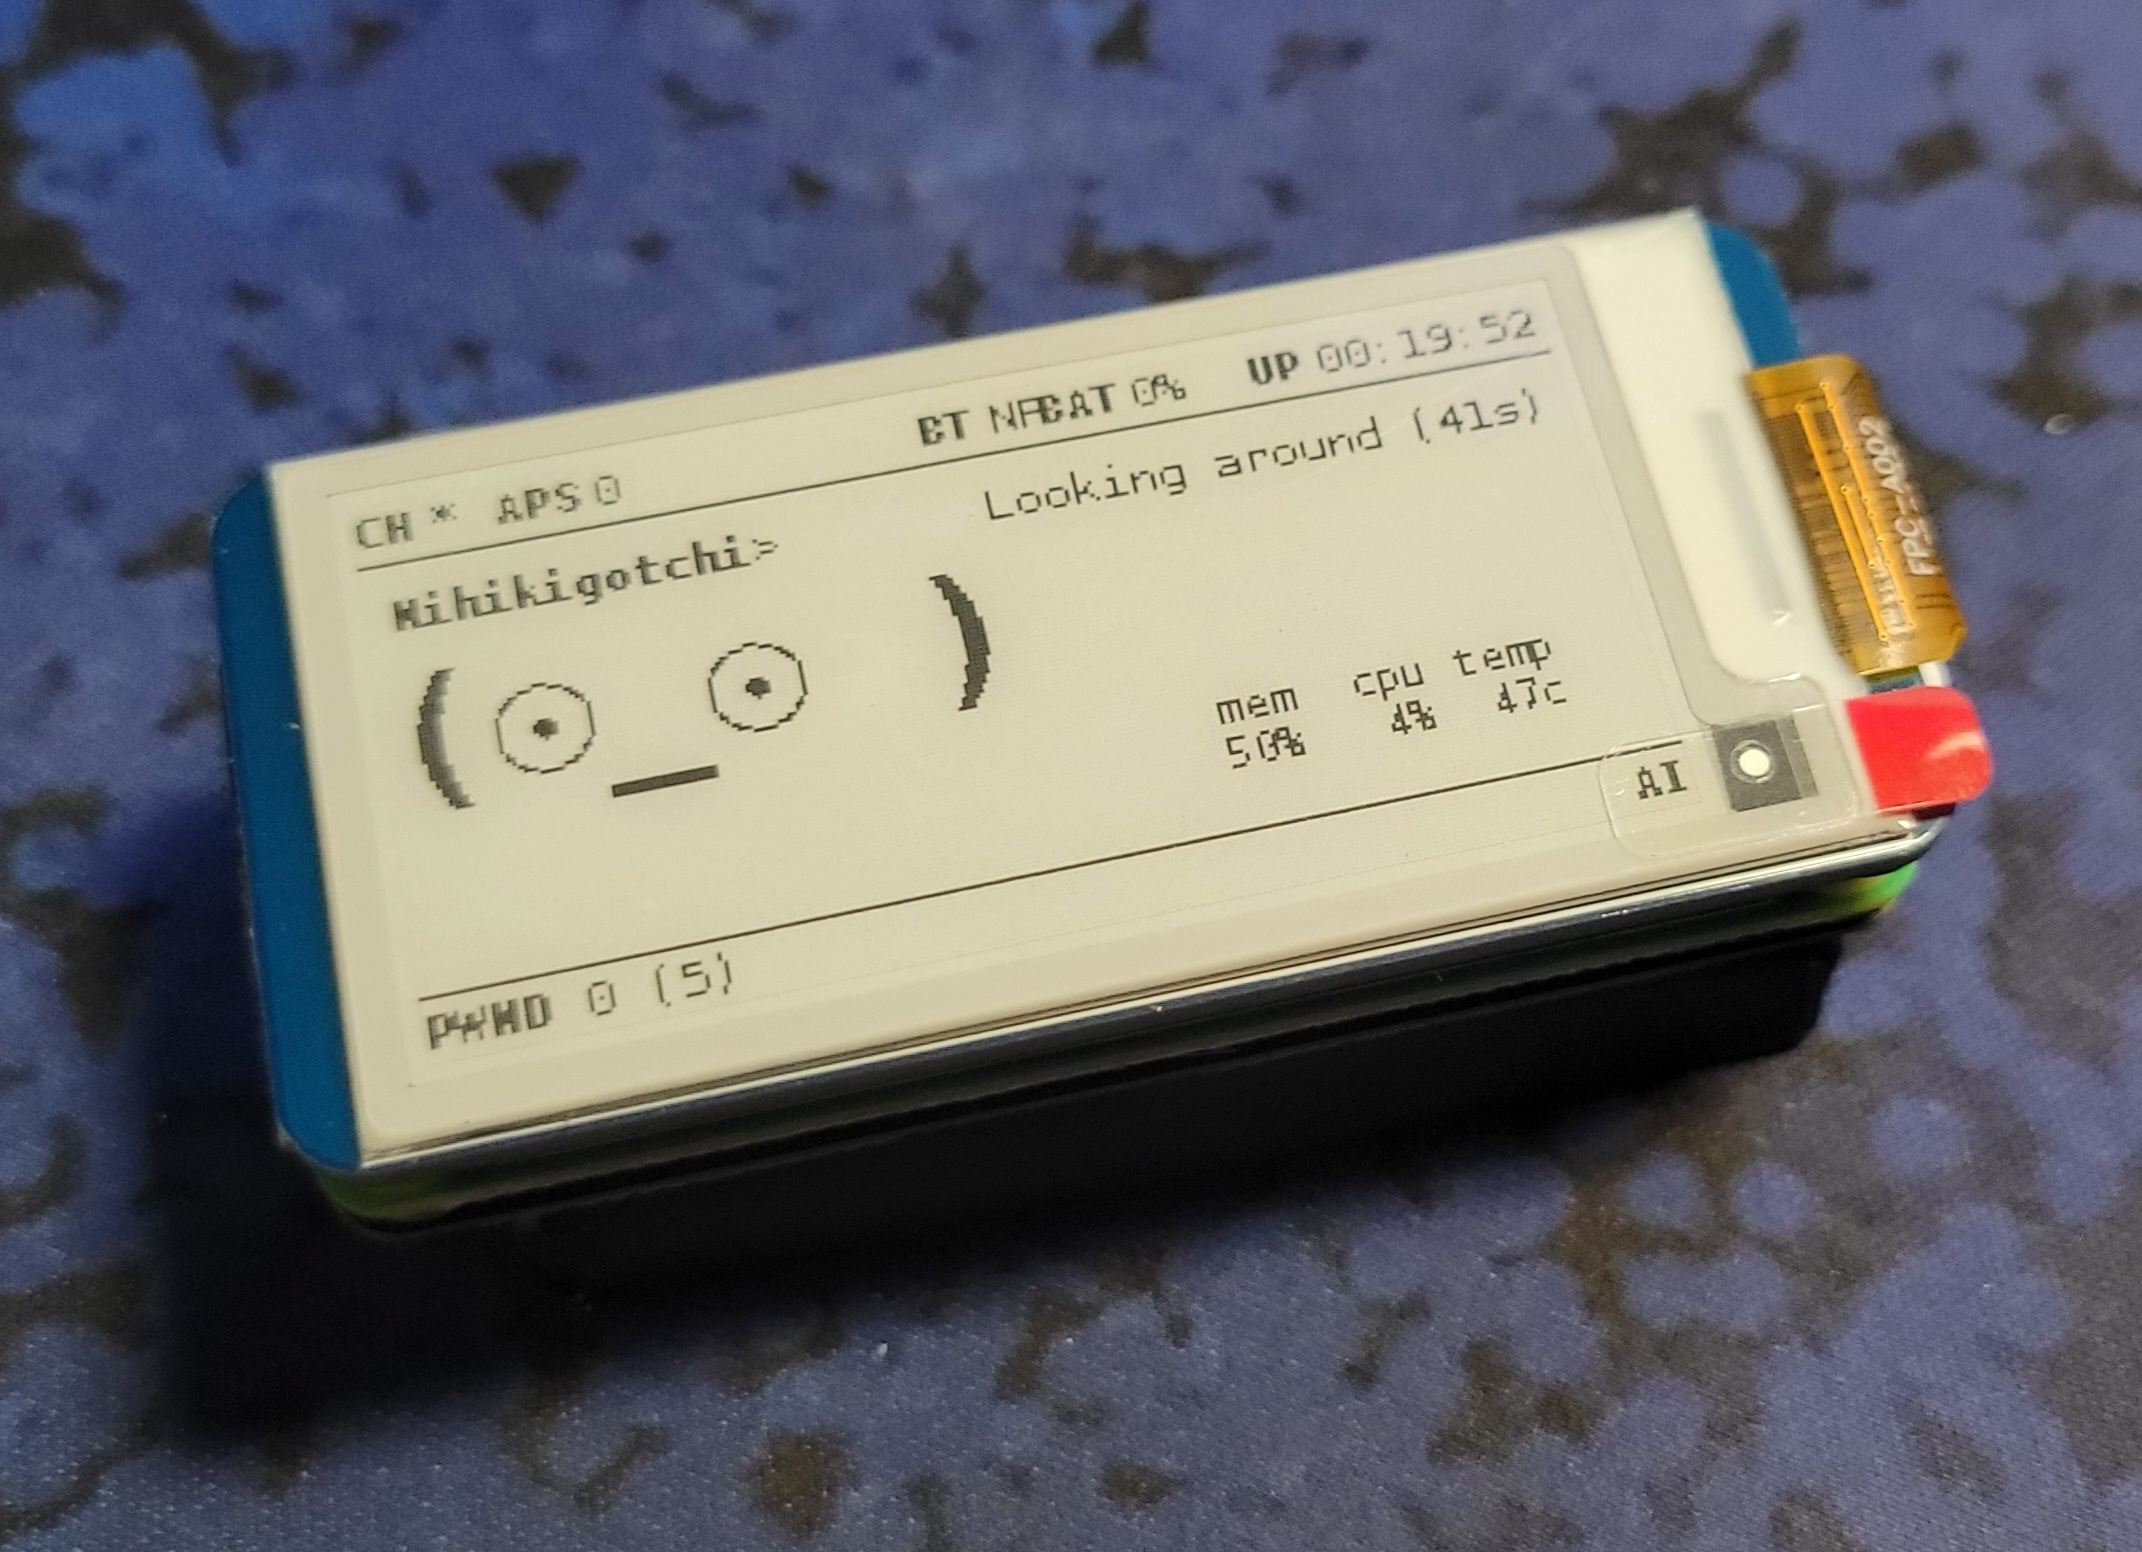
I'm proud to introduce you to (the still naked) Nihikigotchi.